|
Tying
the RM-Artfur Sculpin
By Leon Links
Dressing
Hook: RM wide gape
streamer hook #4
Tying thread: Power silk XX
Body: Pearl Flash and Art Fur (beige and black)
Tail: Pearl Flash and Art Fur beige (black permanent marker)
Head: Gold bead or tungsten bead, Art Fur beige en black (black and
brown permanent marker)
Eyes: Yellow shape it, black permanent marker
Fins: Brown Ghost Fibre, black permanent marker
The flies originator
is Romas Moser
Tying steps
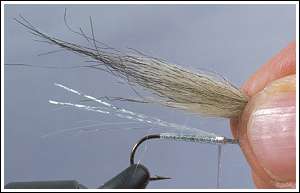
1. Slip the
bead on the hook shank, mount the hook in the vise and attach the
tying thread. Tie in a thin bundle of Pearl Flash halfway on top of
the shank.
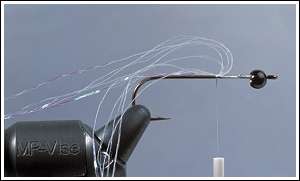
2. Wind the
thread over the Pearl Flash towards the bend of the hook and bring it
back to one third of the shank from the eye, attach some minicom glue.
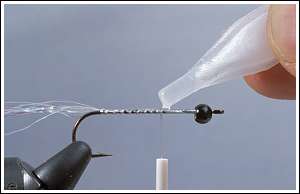
3. Wind a body
with the Pearl Flash and catch it with the tying thread. Fold the
Pearl Flash back over the body, secure with the tying thread. Clip off
the Pearl Flash at something less than a double hook length in order
to form a tail.
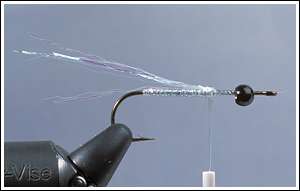
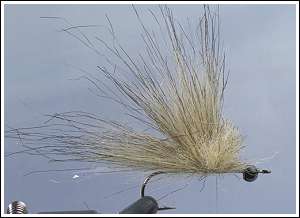
4. Trim off a
bundle of beige Art Fur, remove the under fur and tie in at the
beginning of the Pearl Flash body. It should be a bit longer than the
Pearl Flash tail.
5. Trim off
another bundle of beige Art Fur, don't remove the under fur and tie it
in again.
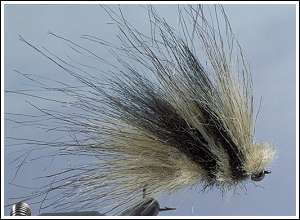
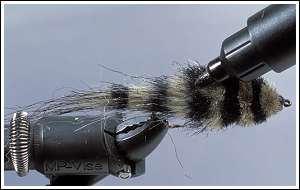
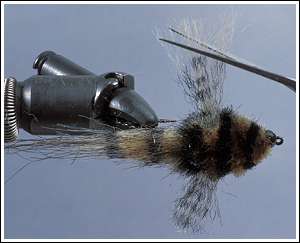
6. Repeat the
procedure described in step 5 another four times with black, beige,
black and finally beige Art Fur. Before whip finishing attach a bit of
minicom glue to the power silk.
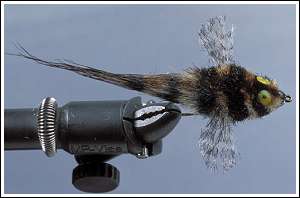
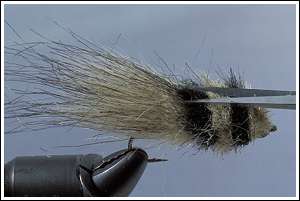
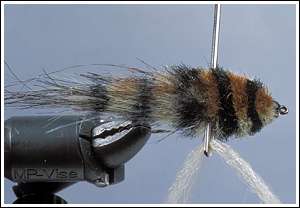
7. Trim the
Art Fur into a Sculpin shape with a flat and broad head.
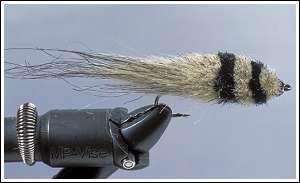
8. Take the
black permanent marker and add three more black rings to the body and
tail.
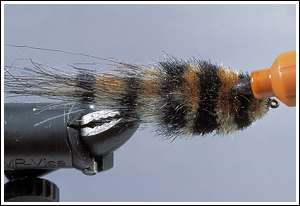
9. Now take
the brown marker and colour back and head a bit brown.
10. Pull a
thin strand of Ghost Fibre through the eye of a darning needle.
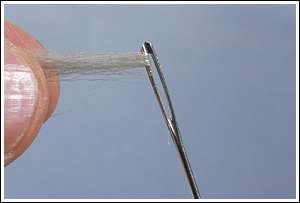
11. Pinch
needle and a bit of the Ghost Fibre through the beige body ring half
way the shank just over the shank, add a drop of mincom glue to the
part of the Ghost Fibre that will be pulled into the body and is
supposed to stay there.
12. Try to
model fins and tail with a bit of normal paper glue, add some black
lines to the fins and clip them into shape.
13. Remove two
Shape it eyes from the wax paper or plastic*, add a bit minicom power
glue and bring them into position on the head with a needle.
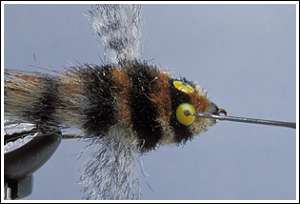
* Prepare the eyes a
day before tying the Sculpin with the Shape it lacquer. Put little
drops on wax paper or appropriate plastic. Dry them overnight and
finish them with a black permanent marker.
Written and
photographed by Leon Links ©
|