|
CDC Loop Dun
By Goran Grubic
The
situations when trout or grayling feed selectively are rare on most of
the freestone rivers. Such rivers are poor in nutrients and fish capture
whatever comes along. On the other side, spring fed limestone rivers are
rich with insect life and because of that trout are often selective.
When selectivity occurs it is important to offer a fly which resembles
the hatching insect in some important features.
Perfect imitation is neither
possible to produce with the usual fly tying materials, nor is that
really necessary. Fish will take a fly that behaves like natural, and
has a right shape, size and color. Tying such a fly does not necessarily
take a lot of time. There are dozens of suitable hatch-matching
patterns, and here I would like to present one that is tied quite
rapidly and serves its purpose quite well, even with very selective high
summer grayling. It is actually a small Ephemerid emerger/cripple
pattern, which is fishing with its tails and body submerged in the water
surface.
The special quality of this fly
is that it uses fibers from only one CDC feather for its wing, and in
sizes smaller than 18, just half of the feather would do the job.
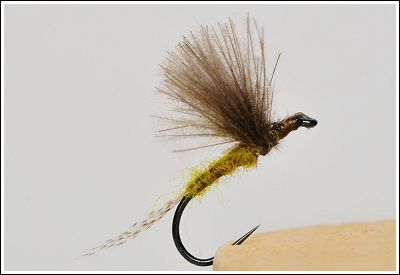
The Blue Winged Olive Loop Dun
is given here as an example, dressed on a hook size 16. This species is
very common all over Europe and can often be responsible for selective
feeding in the summer and early autumn. Other species can be also
imitated with this pattern using suitable colors for wings and bodies.
CDC Loop BWO
Hook: 16-22, any dry fly model
Thread: Olive Danville 6/0
Tail: Fibers from mallard breast feather
Body: Super Fine dubbing, olive color
Wing: Mallard CDC fibers, natural dun
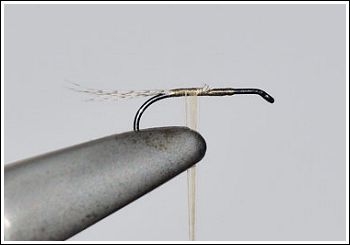
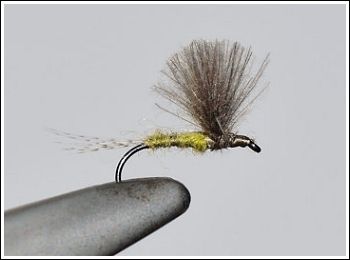
Step 1. The tail is attached,
roughly as long as the fly body
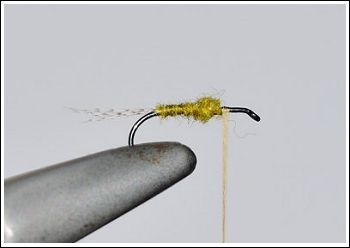
Step 2. The body is dubbed
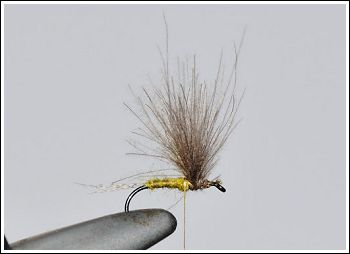
Step 3. The fibers from one CDC
feather are placed in a dubbing loop and spun
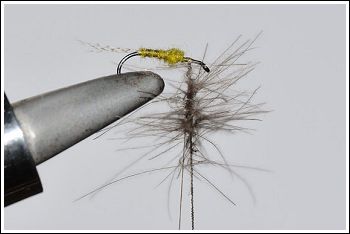
Step 4. The CDC loop is wrapped
around the hook shank, secured and clipped
Step 5. The fibers are combed
upwards with Velcro

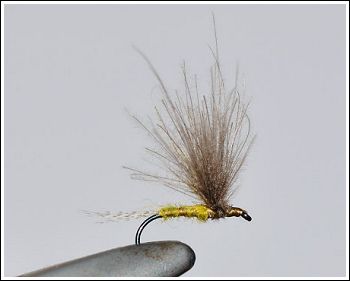
Step 6. The thread is moved to
the front of the wing and backwards, two times, making “X” wrap under
the fly thorax, thus securing the fibers in the upper position
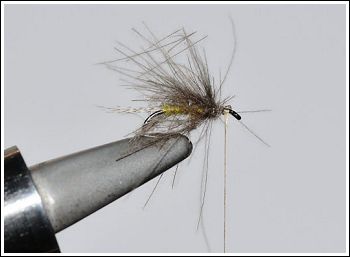
Step 7. The fly is finished with
a whip finish
Step 8. The wing is clipped to
the required size and shape
Text and photos by Goran
Grubic
www.flyandtrout.com
|