|
Step
by step tying sequence
on half-inch tube of "Long range" type
By Jurij
Shumakov
Page 5.
23. If
desired, apply a couple of jungle cock feathers as cheeks. Use the
"lock" technique to fix these feathers. After you have
attached the feather, bend ends of feather backwards, and apply a few
turns of tying thread over. Then cut the ends of feather. It prevents
feathers from release.
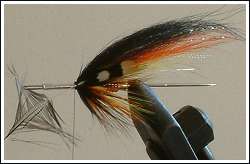
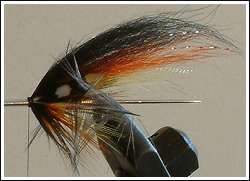
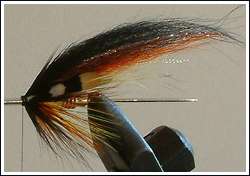
24. You can
apply a few strips of desired flashy material or a few barbs of
peacock feather as a top over the wing.
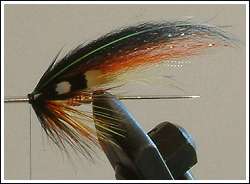
25. Fix the tying thread with a few knots.
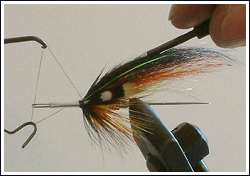
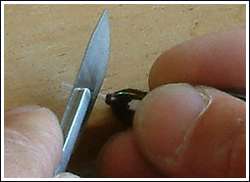
26. Carefully remove the fly from the needle, and cut off excess of
inner plastic tubing with scalpel, leaving about 1-1.5 mm at front of
the fly head.
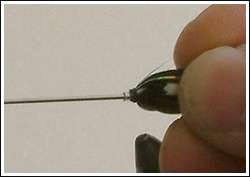
27. Set the
fly again on the needle again and accurately bend back all front
elements of the fly, fixing them with your fingers.
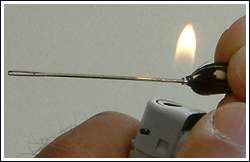
28. Now we
come to the critical part of the tying: building the front rim. Very
carefully expose the part of inner plastic tubing sticking out of head
to a lighter flame, while slightly rotating the fly from side to side
as you did with the rear part, when you were building rim at the
beginning of the tying. When the front plastic part approaches the
flame, you can see that it starts to change colour. The part which
melts become more transparent and "wave" of plastic begins
to move towards the head of fly. You have to be REALLY careful, and
stop melting when plastic "wave" approaches the tying thread
at front of the fly. It looks terrible to read, but it is quite easy
to do in reality. Just practice a bit.
29. Set fly on
needle again; fix the needle in vice, and finish the head of fly.
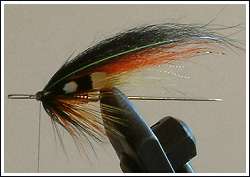
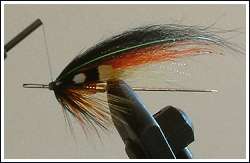
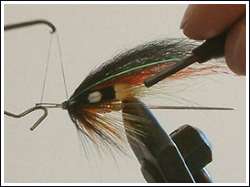
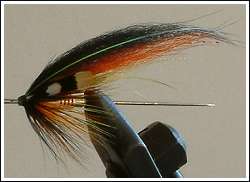
30. Fix all
elements with tying varnish. I would recommend by my own experience to
use a kind of liquid varnish like Benecchi or Firefly's Liquid. It
quickly penetrates deep, fixing all elements firmly. If you wish to
have smooth and glimmering head, you can apply second layer of more
viscose varnish and let the varnish completely dries. Your fly is
ready!
Article
continues on page 6
Text and
photo by Jurij Shumakov 2005
|