|
Step
by step tying sequence
on half-inch tube of "Long range" type
By Jurij
Shumakov
Page
2.
Now we come to
the tying sequence.
1. Set
the inner tubing tightly on the square eye of needle.
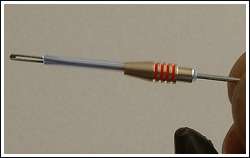
2. Put
on the metal body and fix the needle in your vice.
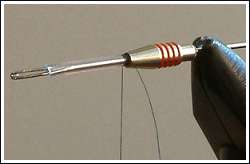
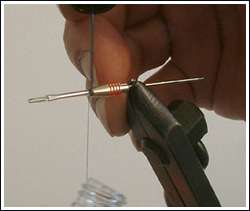
3.
Apply a few turns of tying thread on plastic tubing close to front end
of metal body and apply a small drop of varnish.
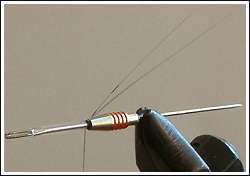
4. Tie
a couple of strips of any desired flashy material. I prefer, Mirage,
Mirror or Lazer flashabou. To minimize number of applied thread turns,
I tie flashy materials in reverse technique. Fix the flash strip with
a couple of turns in its middle part, then bend forward sticking part
to the back, and fix it again. It is a very robust technique.
5.
Choose any desired hair for building the wing. In our case it is
Arctic fox.
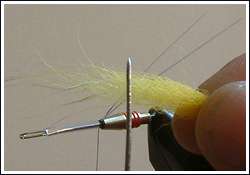
6.
Remove all short under fur and leave only hair, which is about 1-1.5
cm shorter than guard hair. It helps a lot to build perfectly tapered
wing. You can use under fur on small flies, tied on singles or
doubles.
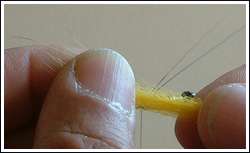
7.
Bunch of hair is ready. When you build the wing, remember, that each
following section should be longer than previous one by about 1.5-2
cm. In this manner, you will get desired tapering at the end of the
wing. As usual, first bunch of hair is about 3-3.5 cm in length.
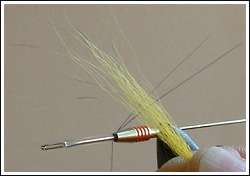
8. Cut
the lower ends of the hair and fix it on the tube with 5-6 tight turns
of thread.
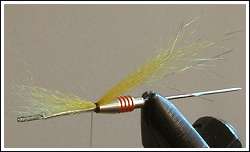
9.
Using surgery scalpel carefully cut excess hair sticking out at front
of fixing place. If you use a new blade you won't need to press on it:
blade will cut the hair with ease, so don't worry, you will not cut
the plastic tube you are tying.
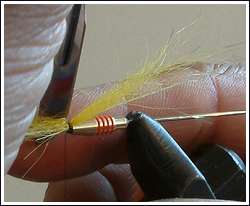
10. Check
if the diameter of place where material is fixed is the same at the
way and not conically tapered towards front of tube. This helps to
build firmly tight front hackle. First section of wing is ready.
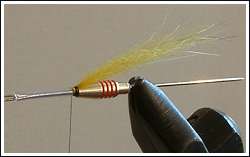
11.
Prepare the first feather for the triple front hackle. To build nice
and very compact front hackle, you should only use the feather tip
with the finest stem. Even three hackles made this way can take not
more than a couple of mm of space.
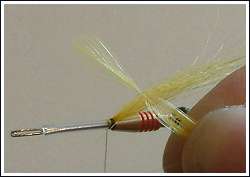
12. Cut
the top of the feather, leaving about 2-3 mm of the central part of
feather with barbs.
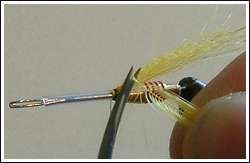
13. Carefully
pulling back barbs of the feather, fix the end of it on tube with
about 3-4 turns of tying thread, and make three turns of feather over
the fixing place of the first wing section.
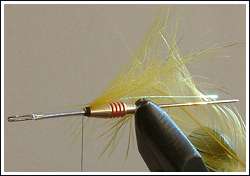
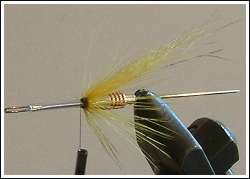
14.
First front hackle is ready.
Article
continues on page 3
Text and
photo by Jurij Shumakov 2005
|